 github-actions[bot]
de77c89cf6
version: sunnypilot v2026.002.000 (staging)
date: 2026-07-21T07:44:02
master commit: 2c334ede443d7391d27575af8c854a095ba702a8
112 lines
3.1 KiB
Markdown
112 lines
3.1 KiB
Markdown
# Turn the speed blue
|
||
*A getting started guide for openpilot development*
|
||
|
||
In 30 minutes, we'll get an openpilot development environment set up on your computer and make some changes to openpilot's UI.
|
||
|
||
And if you have a comma four, we'll deploy the change to your device for testing.
|
||
|
||
## 1. Set up your development environment
|
||
|
||
Run this to clone openpilot and install all the dependencies:
|
||
```bash
|
||
bash <(curl -fsSL openpilot.comma.ai)
|
||
```
|
||
|
||
Navigate to openpilot folder & activate a Python virtual environment
|
||
```bash
|
||
cd openpilot
|
||
source .venv/bin/activate
|
||
```
|
||
|
||
Then, compile openpilot:
|
||
```bash
|
||
scons
|
||
```
|
||
|
||
## 2. Run replay
|
||
|
||
We'll run the `replay` tool with the demo route to get data streaming for testing our UI changes.
|
||
```bash
|
||
# in terminal 1
|
||
openpilot/tools/replay/replay --demo
|
||
|
||
# in terminal 2
|
||
./openpilot/selfdrive/ui/ui.py
|
||
```
|
||
|
||
The openpilot UI should launch and show a replay of the demo route.
|
||
|
||
If you have your own comma device, you can replace `--demo` with one of your own routes from comma connect.
|
||
|
||
|
||
## 3. Make the speed blue
|
||
|
||
Now let’s update the speed display color in the UI.
|
||
|
||
Search for the function responsible for rendering the current speed:
|
||
```bash
|
||
git grep "_draw_current_speed" openpilot/selfdrive/ui/onroad/hud_renderer.py
|
||
```
|
||
|
||
You'll find the relevant code inside `openpilot/selfdrive/ui/onroad/hud_renderer.py`, in this function:
|
||
|
||
```python
|
||
def _draw_current_speed(self, rect: rl.Rectangle) -> None:
|
||
"""Draw the current vehicle speed and unit."""
|
||
speed_text = str(round(self.speed))
|
||
speed_text_size = measure_text_cached(self._font_bold, speed_text, FONT_SIZES.current_speed)
|
||
speed_pos = rl.Vector2(rect.x + rect.width / 2 - speed_text_size.x / 2, 180 - speed_text_size.y / 2)
|
||
rl.draw_text_ex(self._font_bold, speed_text, speed_pos, FONT_SIZES.current_speed, 0, COLORS.white) # <- this sets the speed text color
|
||
```
|
||
|
||
Change `COLORS.white` to make it **blue** instead of white. A nice soft blue is `#8080FF`, which you can change inline:
|
||
|
||
```diff
|
||
- rl.draw_text_ex(self._font_bold, speed_text, speed_pos, FONT_SIZES.current_speed, 0, COLORS.white)
|
||
+ rl.draw_text_ex(self._font_bold, speed_text, speed_pos, FONT_SIZES.current_speed, 0, rl.Color(0x80, 0x80, 0xFF, 255))
|
||
```
|
||
|
||
---
|
||
|
||
## 4. Re-run the UI
|
||
|
||
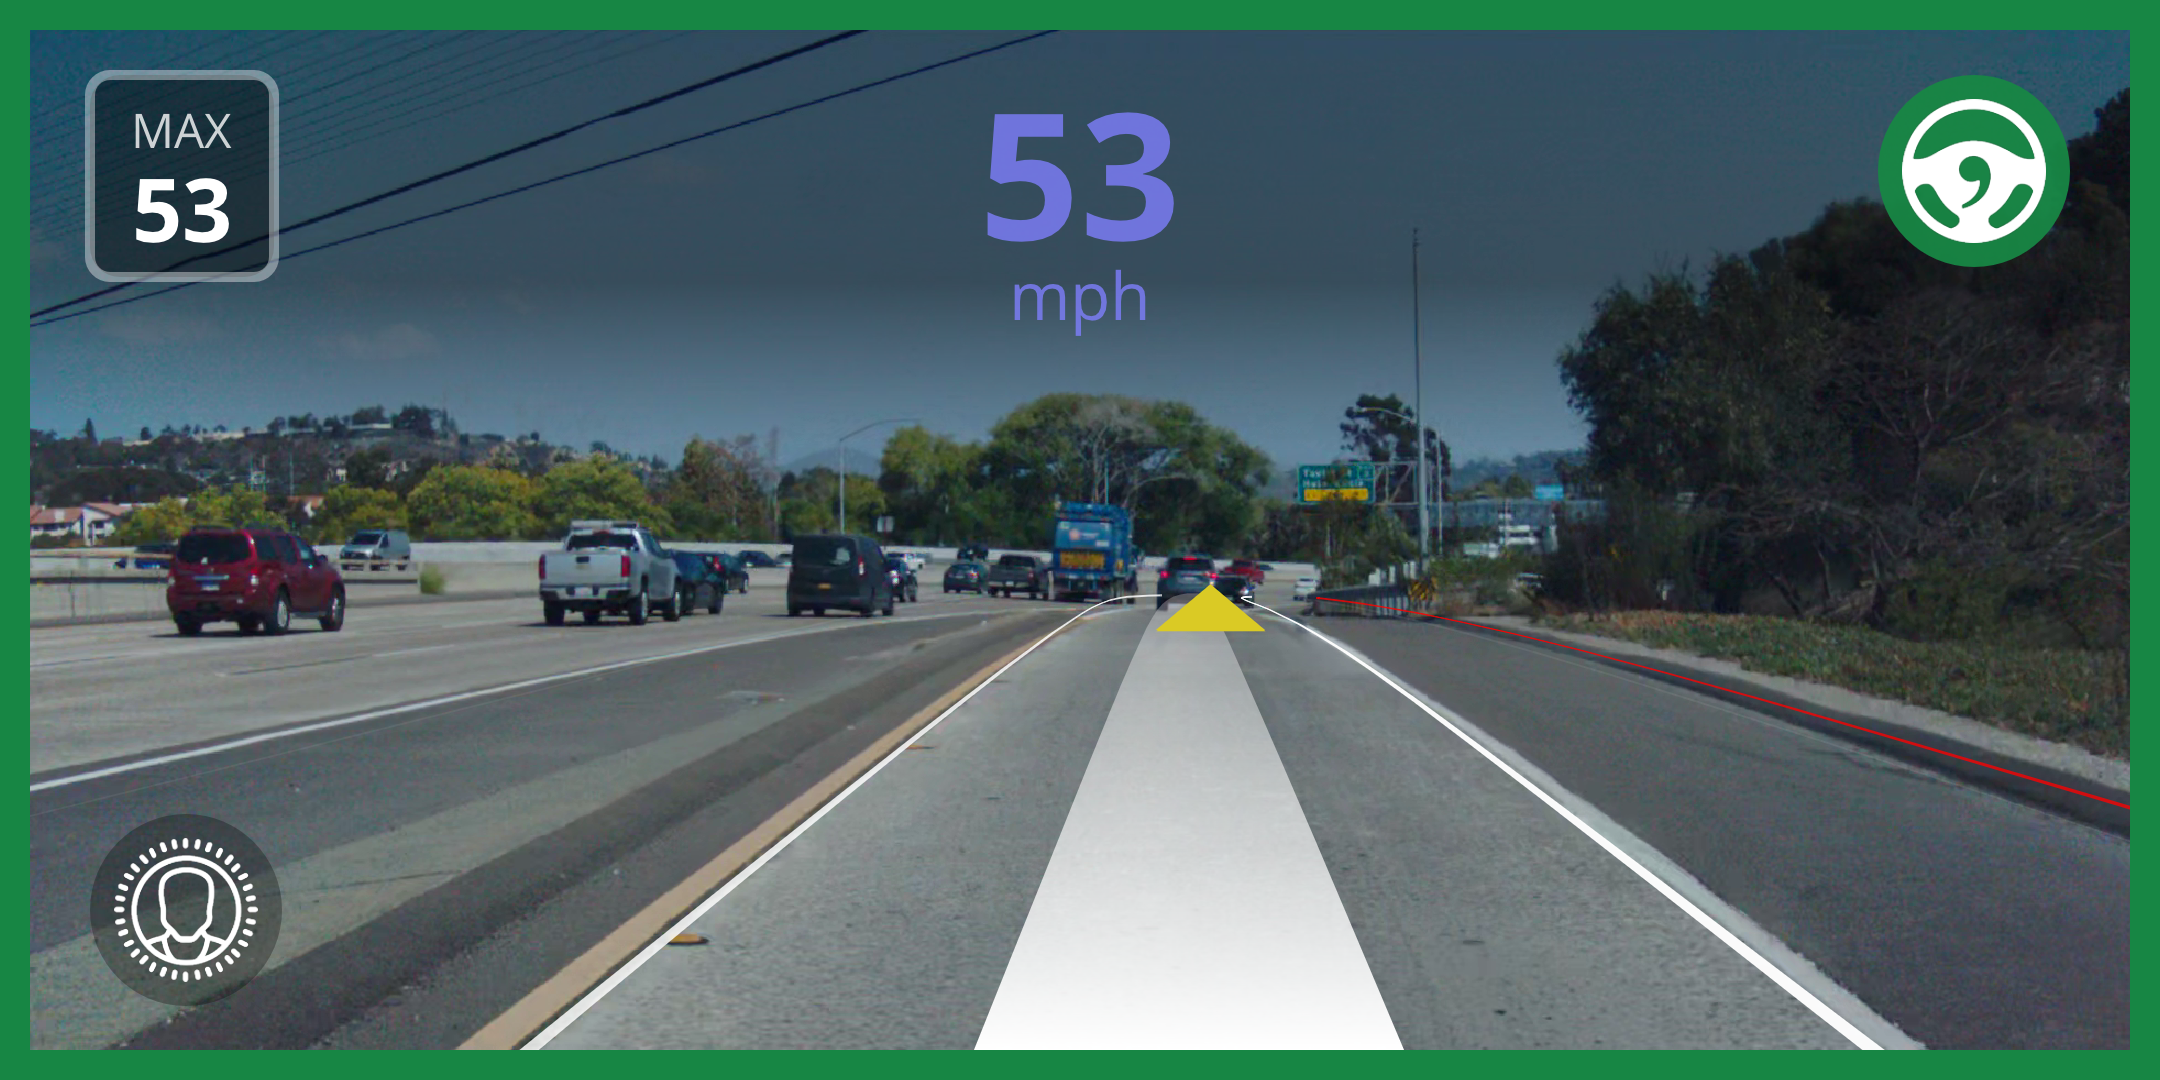
After making changes, re-run the UI to see your new UI:
|
||
```bash
|
||
./openpilot/selfdrive/ui/ui.py
|
||
```
|
||
|
||
|
||
You should now see the speed displayed in a nice blue shade during the demo replay.
|
||
|
||
---
|
||
|
||
## 5. Push your fork to GitHub
|
||
|
||
Click **"Fork"** on the [Openpilot GitHub repo](https://github.com/commaai/openpilot). Then push with:
|
||
```bash
|
||
git remote rm origin
|
||
git remote add origin git@github.com:<your-github-username>/openpilot.git
|
||
git add .
|
||
git commit -m "Make the speed display blue"
|
||
git push --set-upstream origin master
|
||
```
|
||
|
||
---
|
||
|
||
## 6. Run your fork on your comma device
|
||
|
||
Uninstall Openpilot through the settings on your device.
|
||
|
||
Then reinstall using your own GitHub-hosted fork:
|
||
```
|
||
installer.comma.ai/<your-github-username>/master
|
||
```
|
||
|
||
---
|
||
|
||
## 7. Admire your work IRL 🚗💨
|
||
|
||
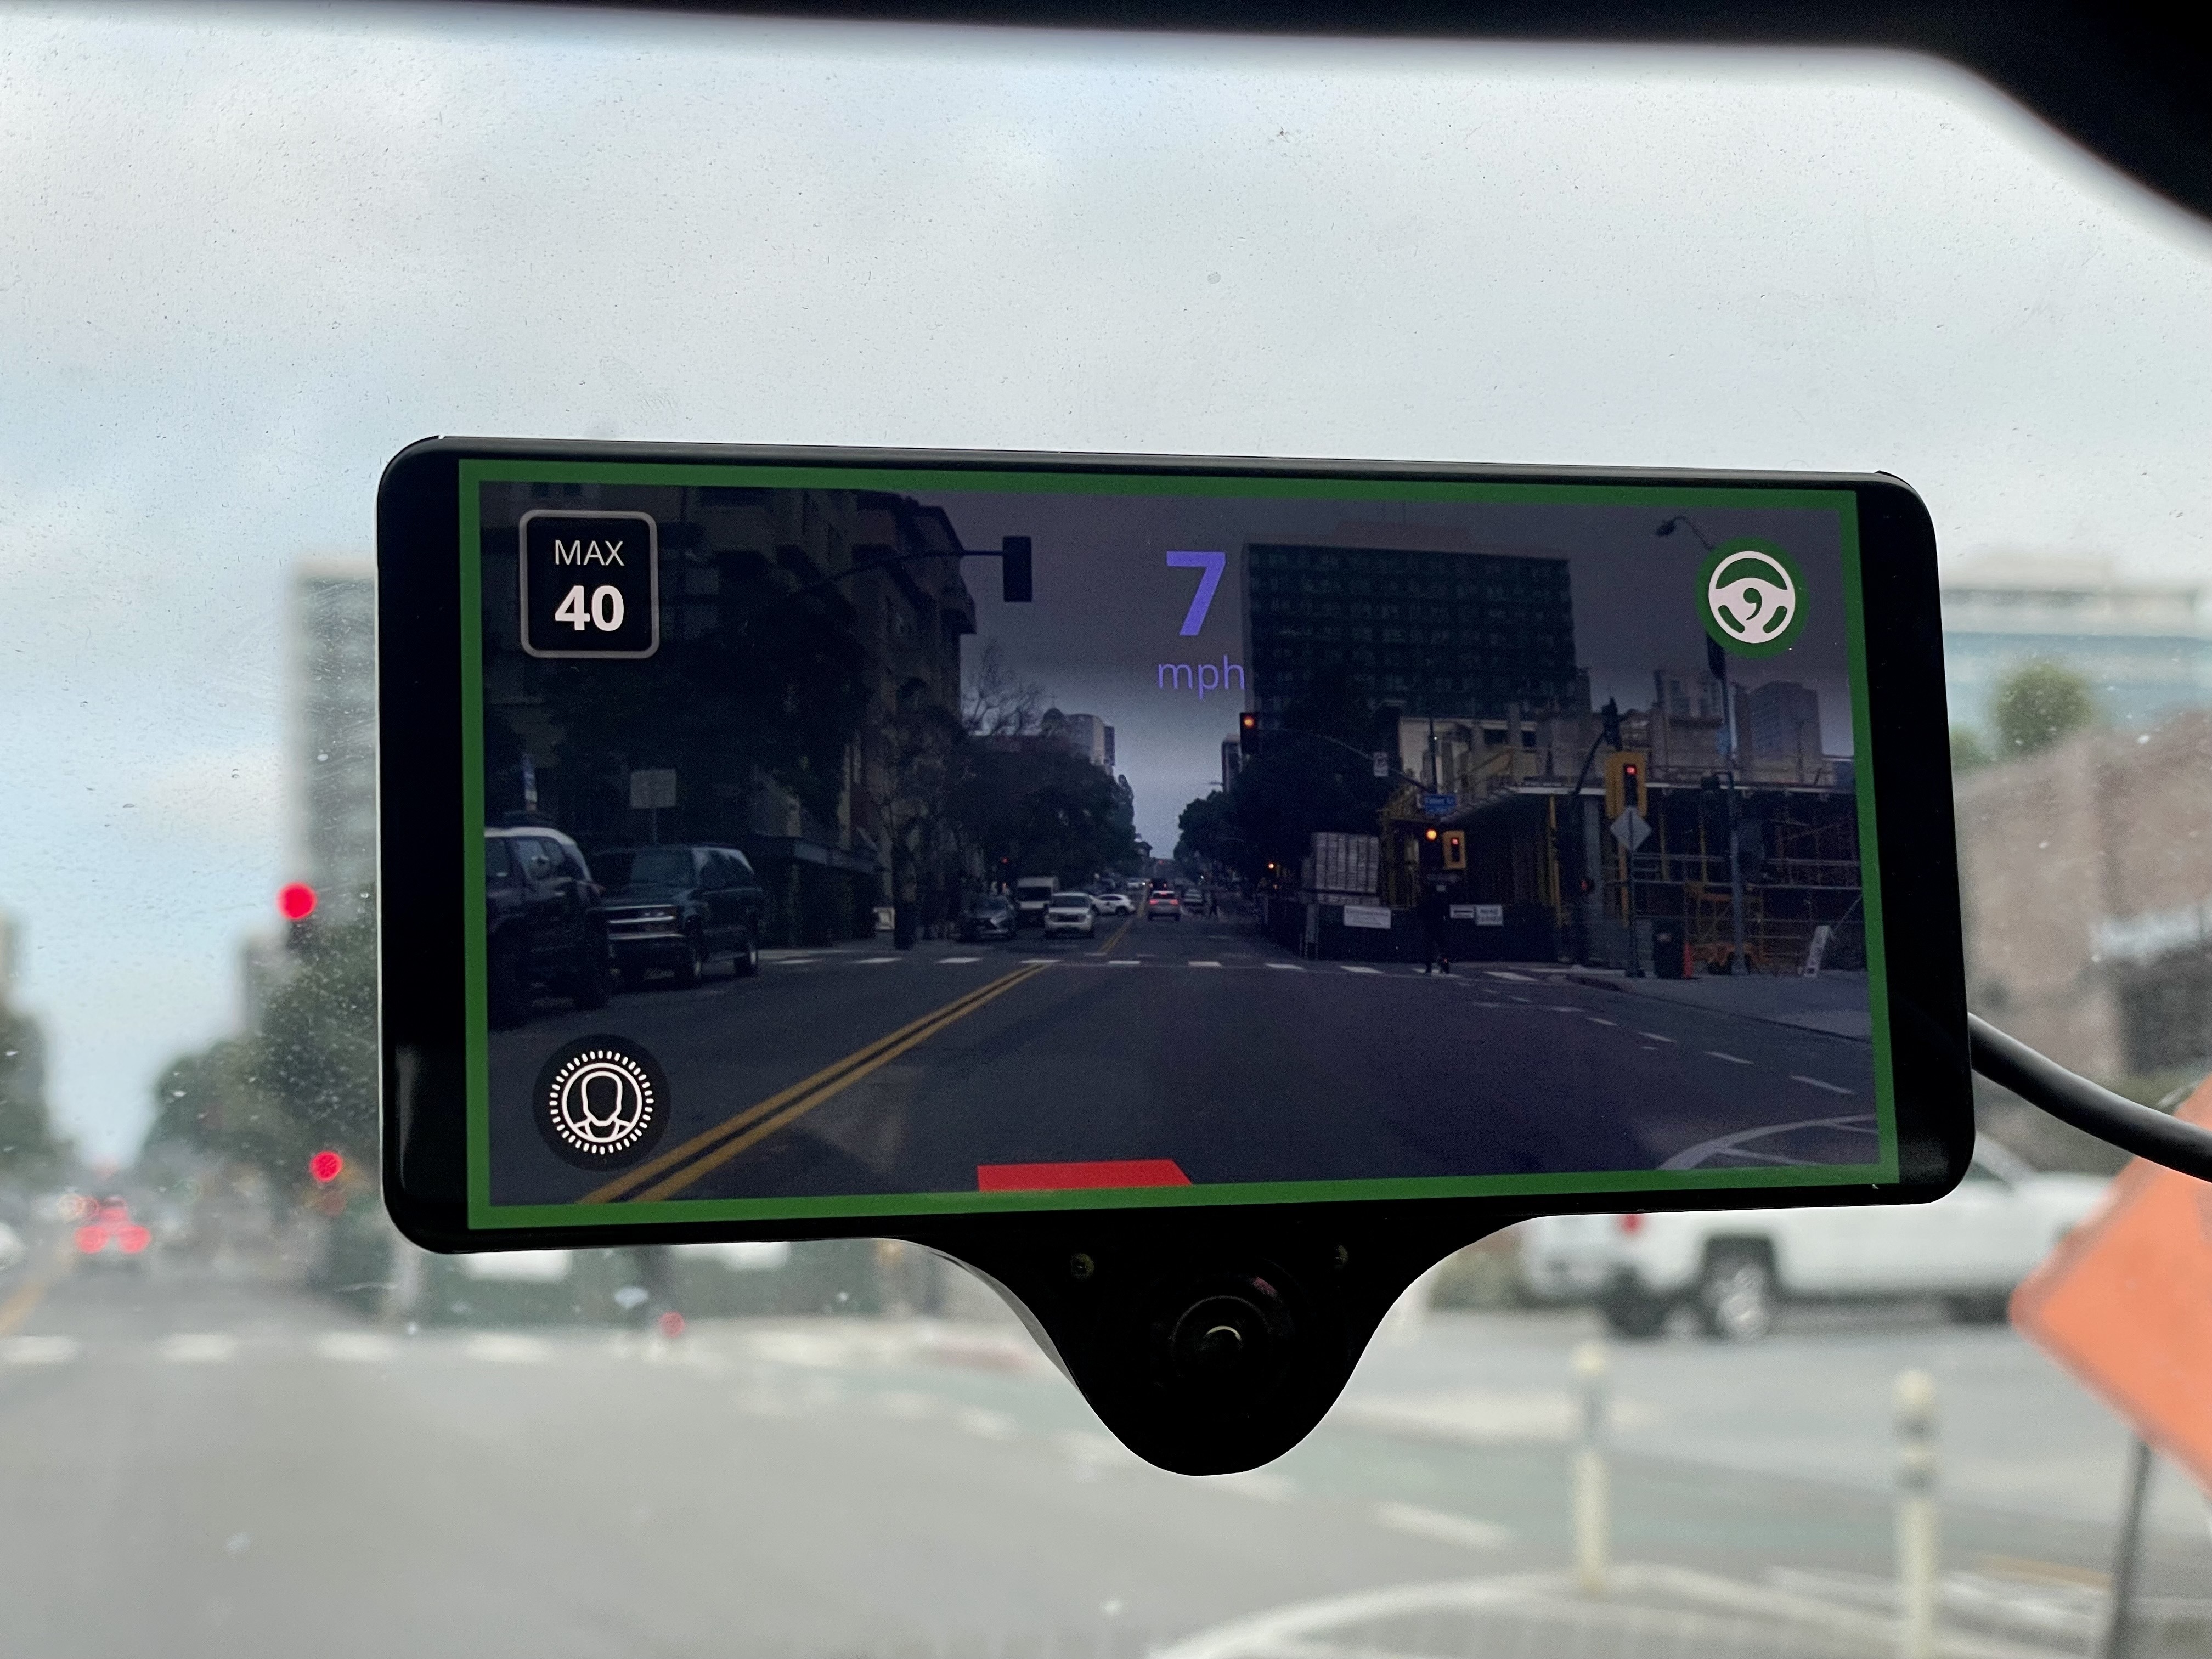
You’ve now successfully modified Openpilot’s UI and deployed it to your own car!
|
||
|
||
|